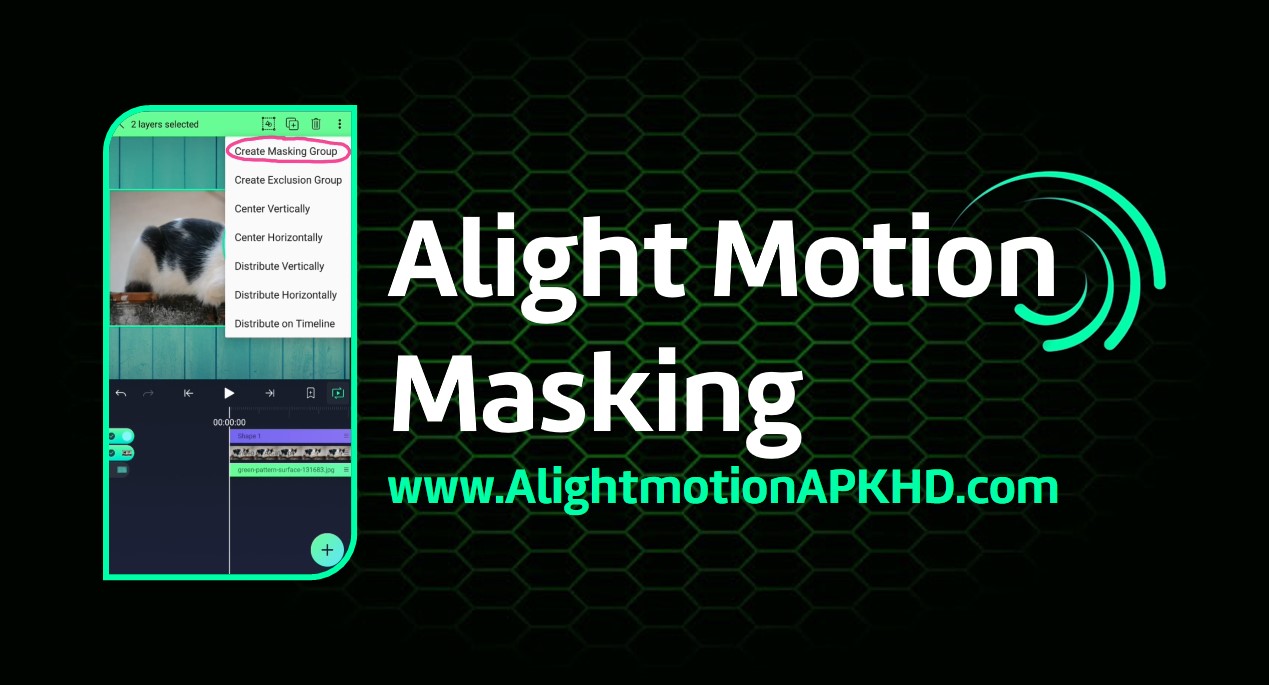
Alight Motion is a well-known app for unlimited video editing already. It contains plenty of effective tools, effects, filters and features that can let you form a cinematic video at the end.

Out of the many magical features in Alight Motion, Masking is also a tricky and very useful tool. It can be used to hide certain parts of your video or screen as you wish while allowing the rest to be played. Using this feature can take your creations to a higher level in graphic editing. Therefore, the feature is well-preferred by the professional too.
What is Masking?
The feature, as its name denotes, uses the concept of ordinary masking that comes to your mind. Using the masking tool allows you to hide certain parts while the rest is left opened. Then you can use other tools and Alight Motion features only on the exposed parts of the layer. Keeping your timeline divided into layers also is important when performing masking functions.
Basic masking Techniques in Alight Motion
The app allows 3 basic masking techniques to make your functions easy:

Rectangular Masking
You can separate a rectangular shaped area with this tool. Is generally advisable for masking a large area. You can use the rectangular masking and then apply other effects and transitions on your clip.
Circular Masking
This option can be used for comparatively smaller areas than the rectangular masking. You can give the star point and drag through to give the radius of the circle you need to form. When highlighting circular vignettes or specific objects of the video, circular masking is ideal.
Freeform Masking
In case you want to highlight an odd shape or more complex shapes in the clip, you may use freeform masking. Here the boundaries are up to you to specify. Generally, this is the most used masking option when you are editing real life videos. The characters in them can be made constant while the rest is subjected to changes afterwards.
Advanced Masking Techniques
Apart from the basic masking techniques describes above, Alight Motion offers some advanced masking techniques which the professionals find highly advantageous:
Feather and Opacity
This helps you to soften the edges of the masked area. The boundaries will not look artificial, but real if appropriately used.
Keyframing
Keyframing makes your masking professional by allowing animations on it. You can allow movements in the masked sections using this. The technique uses transitions between two specified keyframes to form animations.
Track mask
This is an automatic tracker which detects the movements in a video. It is easy to use and hence marks the masking area. You just need to make the selection and give time for the automated process.
How to use the Masking Feature?
Using the Masking tools in Alight Motion is not that much of a challenge. You only need to follow the given steps to complete a masking task successfully:
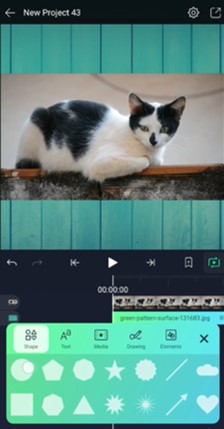
- First open a new project in Alight Motion and define the layers. Select the layer you need to perform the masking on. This could be a part of the clip, an image or even text.
- Now navigate to the toolbar and tap on the masking tool.
- You can now create a new masking layer which will be overlaid on top of your layer.
- Now you can adjust the shape of the masking as you want to your purpose. It could be rectangular, circular or even freeform.
- To make a rectangular masking layer, drag from one corner to the other, to form circular masking, select the center and define the radius. If you want freeform masking, get the pen tool and draw the outlines.
- Use the tools Feather to soften edges of the masking and Opacity to adjust the visibility of the masked area.
- Now you can add animation to the same area and customize the animation properties. You can change the shape, position and color controls of the same. Also make the motions of different objects look rhythmic or random is up to you.
- Remember to preview the clip before you save and export it. This will help you realize what more enhancements are necessary to be done. Once you preview, you may return to the project again and make the identified changes once again.
- Finally, save the project and export it if you want to. You can save different file formats like GIF, videos, images, etc. You have the same choice in exporting the projects as well. You give the preferred format and export if to the social media you wish to publish the creation in.
Surely, more practice will help you to get more successful and quicker in making these edits. Alight Motion is a good choice to learn from. So make sure you explore it and get the best benefit out of it.
Pros and Cons of Masking
Pros:
- Making can be very accurate and can highlight the visibility of certain parts of the video.
- It is flexible for unlimited creations. You can highly customize the options available in masking.
- The quality of the video is not harmed but improved during masking.
- The visual effects created can be highly attractive to the audience.
- Enhances the visual aesthetic of your end product.
Cons:
- It is better if you have a basic knowledge about graphic designing and how things work in the sector before you perform masking.
- Could be a challenge at first and might consume a lot of time for completion.
- Your device needs a strong processor and available empty space for the process to flow smoothly.
- Some effects are hard to apply in masking.
- The more practiced you are, the more you can perform.
Final Words
Among the many stunning features in Alight Motion, Masking is an important tool that helps you create professional masterpieces. This article described many aspects about using the tool and gave you a clear idea about how to perform masking step by step. By following the given guidelines, you can successfully complete a masking task in Alight Motion.
Since the app has so much to offer you, you can try and explore the beauty it can offer your videos. So whether you’re a graphic editor or not, Alight Motion Masking is really worth giving a try.