Alight Motion is a powerful video editing app designed for mobile devices. It allows users to create professional-quality videos and animations using a variety of tools, effects, and features. This guide will help you learn how to use Alight Motion, step by step, from installation to exporting your finished project.

What is Alight Motion?
Alight Motion is a video editing and animation app available for Android and iOS devices. It is popular among beginners and professionals for creating visually stunning content. The app offers tools like video trimming, motion graphics, visual effects, keyframe animation, and much more. Whether you’re making a simple slideshow or a complex animation, Alight Motion provides the tools you need.
The app is perfect for creating videos for platforms like YouTube, TikTok, or Instagram. With its user-friendly interface, anyone can learn to use it, even without previous editing experience.
How to Install Alight Motion
To start using Alight Motion, you’ll need to download and install it on your smartphone or tablet. Here’s how:
- Go to the App Store or Play Store: Open the app store on your device.
- Search for Alight Motion: Type “Alight Motion” in the search bar.
- Download the App: Tap the “Install” button to download the app.
- Open the App: Once installed, open Alight Motion and sign up for an account. You can choose between the free version or a paid subscription for access to advanced features.
The free version includes watermarks on exported videos, while the paid version removes watermarks and unlocks additional tools and effects.
Creating a New Project
Once you have installed Alight Motion, follow these steps to start a new project:
- Launch the App: Open Alight Motion on your device.
- Tap the Plus Icon: On the main screen, tap the “+” icon to create a new project.
- Set the Project Details:
- Choose the aspect ratio (e.g., 16:9 for YouTube, 1:1 for Instagram).
- Select the frame rate (e.g., 24 FPS for cinematic videos).
- Adjust the background color if needed.
- Name Your Project (Optional): Add a name to help organize your work.
- Tap Create Project: You’re now ready to start editing!
Understanding the Timeline and Layers
The timeline and layers are the foundation of your project in Alight Motion.
Timeline:
The timeline shows the sequence of your video clips, images, text, and effects. You can use it to adjust the timing and duration of each element.
Layers:
Layers allow you to add multiple elements to your project. Each layer can hold a video, image, text, or effect. Layers are stacked on top of each other, and you can rearrange them to control which elements appear in front or behind.
Understanding these features will make your editing process easier and more organized.
Basic Editing Tools
Alight Motion provides several basic editing tools to help you get started:
Cut and Trim:
- Use the Cut tool to split a clip into smaller parts.
- Use the Trim tool to shorten or adjust the beginning and end of a clip.
Move and Resize:
- Drag clips or layers to change their position on the screen.
- Use the Scale Tool to resize objects.
Rotate and Adjust:
- Rotate objects by dragging the corner of the layer.
- Adjust opacity to make elements more transparent.
Zoom:
- Use the zoom tool to focus on a specific part of your video.
- Combine zoom with motion to create dynamic effects.
Adding Effects and Transitions
Effects and transitions can make your videos more engaging.

Adding Effects:
- Select a clip or layer on the timeline.
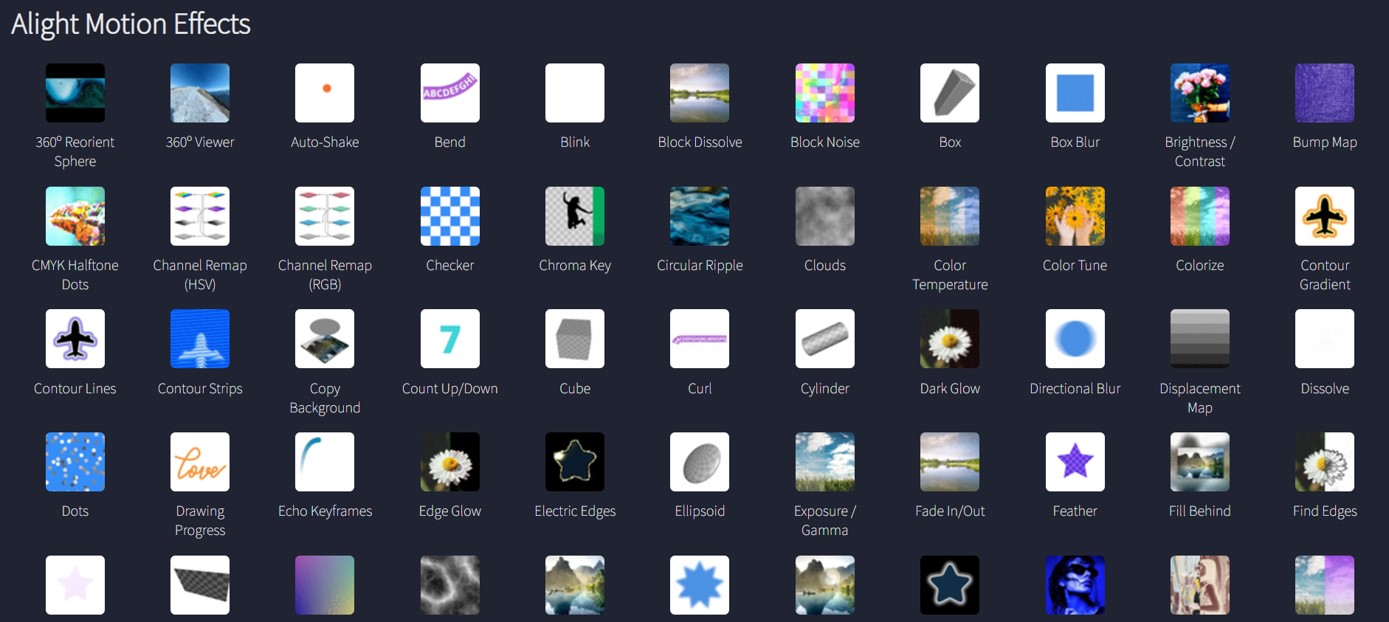
- Tap the Effects button and browse through the available options, such as blur, glow, or color correction.
- Customize the intensity and duration of the effect.
Applying Transitions:
- Transitions help clips flow smoothly from one to another.
- Tap the space between two clips and choose a transition effect like fade, swipe, or dissolve.
- Adjust the speed and duration of the transition for better results.
Animating Elements
Animation is one of the most powerful features of Alight Motion.
Using Keyframes:
- Select the object you want to animate.
- Tap the Keyframe Tool (diamond icon) and move the object slightly.
- Add a second keyframe and adjust the object’s position or size.
- Play the video to see the animation in action.
Smooth Animation:
- Use easing curves to make animations more natural.
- Adjust the speed of the animation for a smooth effect.
Animating Text:
Apply keyframes to text to make it move, rotate, or change size.
Combine text animations with effects like fade or glow.
Incorporating Text and Typography
Adding text to your videos can help convey messages clearly.
Adding Text:
- Tap the “+” button and choose Text.
- Type your words and adjust the font, size, and color.
Customizing Text:
- Use the text editing tools to change alignment, spacing, and shadows.
- Choose from a wide range of fonts to match your video style.
Animating Text:
- Apply effects like fade-in, slide, or zoom to make the text stand out.
- Combine keyframes and effects for unique typography.
Exporting Your Project
Once you’ve completed your video, it’s time to export and share it.
- Review Your Project: Play your video from start to finish to check for any mistakes.
- Tap the Export Button: The export button looks like an arrow pointing upwards.
- Choose Settings:
- Select the resolution and quality of your video.
- Pick a file format (e.g., MP4 for videos or GIF for animations).
- Export the Video: Tap Export and wait for the app to save the file.
- Save or Share: Save the video to your device or share it directly to social media platforms like Instagram or TikTok.
Learning Resources
To become better at using Alight Motion, you can explore these learning resources:
- In-App Tutorials: Alight Motion has built-in tutorials to help you understand its features.
- YouTube Videos: Many creators upload detailed guides and tips for Alight Motion.
- Practice Projects: Start with simple projects to learn the tools and gradually try more advanced techniques.
- Online Communities: Join Alight Motion groups or forums to connect with other users and share ideas.
Conclusion
Alight Motion is a versatile app that offers endless possibilities for creating professional videos and animations. By following this guide, you’ll understand the basics of the app and how to use its powerful tools. Whether you’re a beginner or a seasoned editor, Alight Motion can help you bring your creative ideas to life. Take your time, practice often, and have fun exploring the app!