Imagine, you have drawn a speed graph for your animation. The x-axis of the graph represents time and the y-axis represents the animation progress. If you make a straight line along the graph, it says that there is a constant speed through out the animation. But how about changing this constant speed and adding speed variations along your animation? It will make your video look more real and advanced.
Easing curves are a wonderful tool to use when adding this speed variation technique to your video. Alight Motion is a professional and handy video editing tool that offers a powerful and advanced easing curve animation editor feature. If you too love to make use of these easing curves to enhance animations then you are at the right place. This article aims to cover all about Alight Motion easing curves.
Easing curves in Alight Motion
Easing curves are a useful technique you can use when editing your videos. Applying easing curves will make your video more natural and captivating. There are mainly four types of easing curve presets you can apply by using the Alight Motion video editor. They are Ease-in, Ease-out, Ease-in-out, and Linear. Plus, there is a chance to create custom easing curve as well.
Ease-in
If you want to apply easing curves to objects that leave the screen the best easing curve to use here is ease-in. In this category, the speed of the animation will be slow at the beginning, and with time the speed will increase gradually.
Ease-out
If you are going to apply an easing curve to an object that entering the screen then go for ease-out. Here the speed of the animation is fast at the beginning and later the speed decreases gradually.
Ease-in-out
Here both above techniques are combined. The animation will start slowly then the speed will increase and again the speed will decrease. This technique can be used for moving objects.
Linear
This is the basic type of curve to use. But this is not visually appealing and a bit unnatural. But if you want to add a robotic feel to your creation then you can try this.
Custom easing curves
In addition to these presets you can create custom easing curves as well. This is more suitable for the ones who love to have more control over their animation speed. Define keyframes and adjust the speed variations using the handles.
How to use easing curves in Alight Motion
Using and applying easing curves in Alight Motion is simple and easy to follow. This section included simplified step-by-step guidance on using the easing curve feature in Alight Motion.
Define keyframes
The first step to do is to define keyframes. Here you have to select at least two keyframe positions.
- Open Alight Motion.
- Tap on the ‘+’ mark at the bottom center of the interface.
- Add a video, image, shape, text, or anything else to start with.
- On the tool panel locate the ‘Move and Transform’ option and tap.
- Then decide the start point and tap on the button to add keyframes. This is a diamond-shaped icon with a ‘+’ mark at the center. Located on the left side of the tool panel.
- Then scroll along the timeline, decide the endpoint, and add a keyframe. The keyframes should be shown by solid diamonds along the timeline. There should be at least two points with added keyframes to use the easing curve feature.
Begin the easing curve editing

After defining the keyframes you can start your journey of applying easing curves in Alight Motion.
- Simply, tap on the curve editor icon below the keyframe adding icon.
- Here you can see the respective easing curve.
- Then you can select the preferred easing curve preset available in Alight Motion.
- Mainly you can see three types of easing curves for you to select.
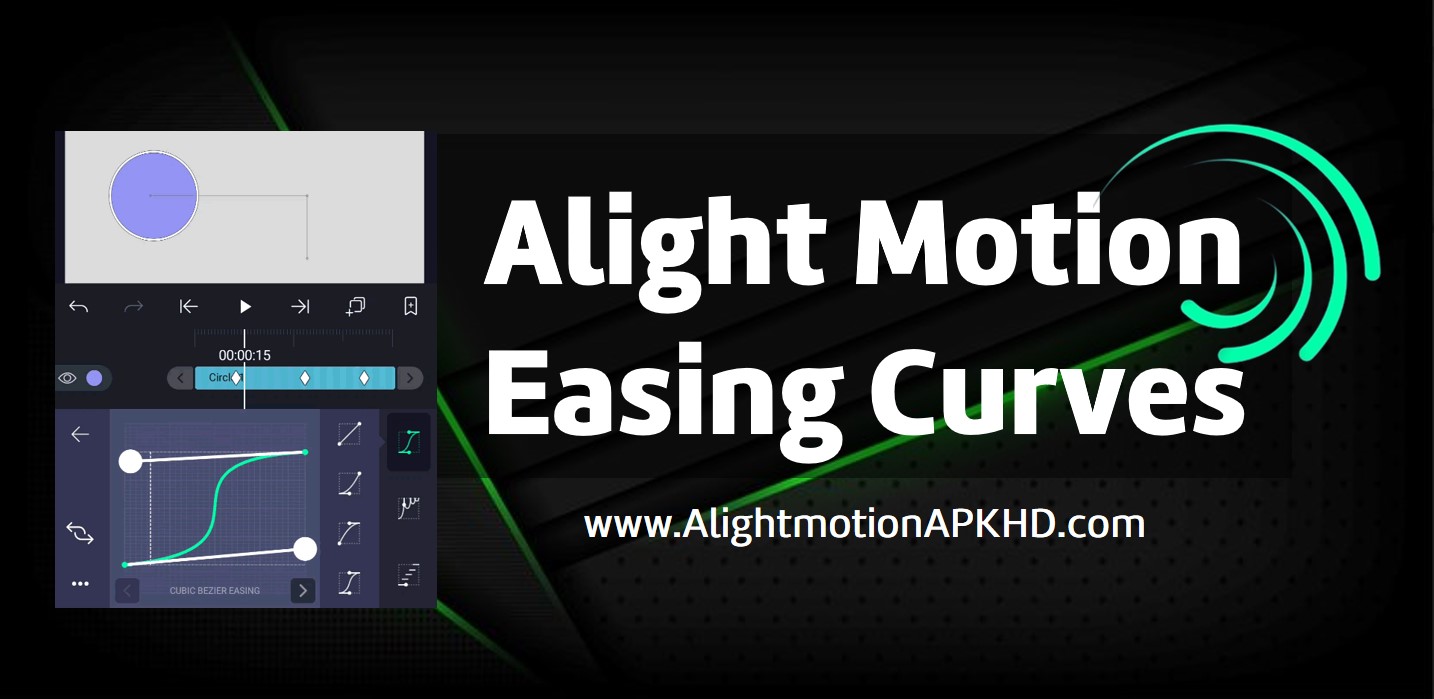
- Cubic Bezier Easing.
- Bounce Easing.
- Steps Easing.
- Each of these categories includes subcategories as well.
- However, if you wish to customize each of these easing curves as per your wish, then Alight Motion allows room to do so as well. Just drag the while handles from either side of the curve and adjust as you want.
- The slope of the curve represents the speed. If the slope is deeper then the speed is higher. Consider this when customizing the speed of your video.
Creative ideas to use easing curve
The main purpose of using easing curves in Alight Motion is to smoothen the animations. In addition, there are some other occasions also to use this handy tool. Easing curves can be used as an emphasizing tool to make your video grab the attention of the viewers quickly.
Easing curves are useful when adding skill to your text animations. Plus, this can add a touch of liveliness to your characters or elements inside the video and is useful for enhancing the overall visual appeal of the video.
Experimenting with the wider selection of the easing curve presets will let you select the best easing curve to make your video look more attractive and professional too.
Final words
Alight Motion Easing Curves are one of the simple but advanced tools to use in the video editing process to make it more captivating and also professional. Maintaining a constant speed throughout the animation seems a bit unnatural and unprofessional too. If you can add speed variations along the animation then it will add a natural and creative touch to your video. Easing curves are the tool to help you in this process.
Applying easing curves using Alight Motion is very simple thanks to the multiple collections of easing curve presets available on the app. You can choose the best matching easing curve from this collection or else you can customize the curve as you wish. Experiment with the easing curve tool in Alight Motion and make your video outstanding and more professional.